-1 battery
-1 switch
-14 Jumper Wires

-4 330 Ohm Resistors

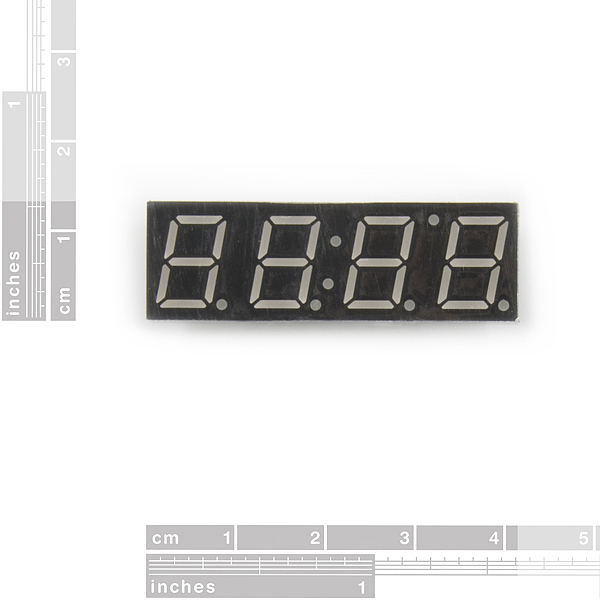
-7-Segment Display

7-Segment Display Pin 1 to Pin 8 counted from left to right on the bottom of the display. From Pin 9 to 16 counted from right to left on the top of the display.
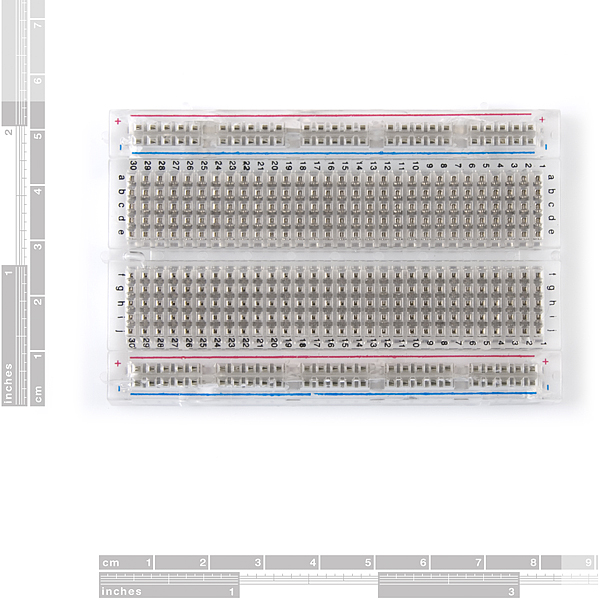
-Breadboard

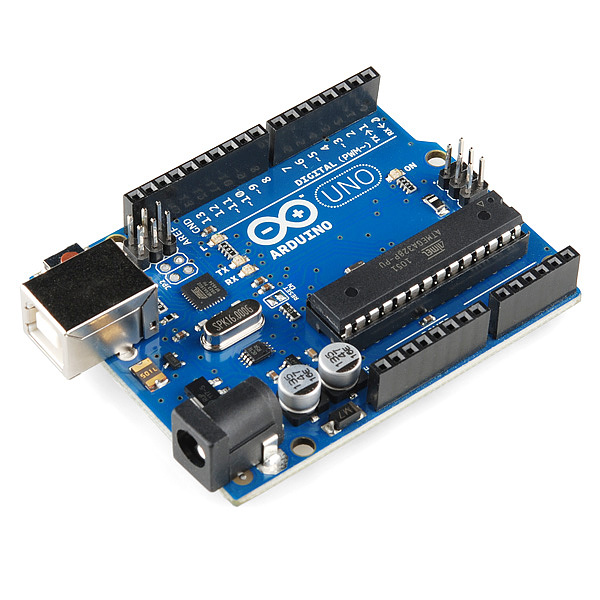
-Arduino Uno

Breadboard Organization (A-J/ 1-30) & Arduino Uno (Digital 1-11)
7-Segment Display on Breadboard
Pin 1 on E9
Pin 2 on E10
Pin 3 on E11
Pin 4 on E12
Pin 5 on E13
Pin 6 on E14
Pin 7 on E15
Pin 8 on E16
Pin 9 on G16
Pin 10 on G15
Pin 11 on G14
Pin 12 on G13
Pin 13 on G12
Pin 14 on G11
Pin 15 on G10
Pin 16 on G9
Connecting Breadboard to Arduino Uno
A1 connected with a 330 Ohm Resistor on D1 to Pin 1 (D9)
A1 connected to Digital 12
A2 connected with a 330 Ohm Resistor on C2 to Pin 2 (D10)
A2 connected to Digital 11
A11 connected to Digital 4 for Pin 3
No connection for Pin 4
A13 connected to Digital 5 for Pin 5
A22 connected with a 330 Ohm Resistor on C22 to Pin 6 (C14)
A22 connect to Digital 10
A15 connected to Digital 8 for Pin 7
A23 connected with a 330 Ohm Resistor on D23 to Pin 8
A23 connected to Digital 9 for Pin 8
No connection for Pin 9
No connection for Pin 10
J14 connected to Digital 6 for Pin 11
No connection for Pin 12
J12 connected to Digital 3 for Pin 13
J11 connected to Digital 1 for Pin 14
J10 connected to Digital 7 for Pin 15
J9 connected to Digital 2
Switch connector to Power 5V and Analog A5
Code:
//This code was copied from http://www.instructables.com/id/4-Digit-7-Segment-LED-Display-Arduino/?ALLSTEPS, but this code was rewritten and fixed because the original code was not working for my project as well as added a swtich program code into this code.
//This project reflects the idea of time as an artistic concept in which time is what the world runs on and even though society or individuals wishes to stop time, time continues going on.
//segments
int a = 1;
int b = 2;
int c = 3;
int d = 4;
int e = 5;
int f = 6;
int g = 7;
int p = 8;
//digits
int d4 = 9;
int d3 = 10;
int d2 = 11;
int d1 = 12;
//other
long n = 0;
int x = 100;
int del = 45;
int switch1;
void setup()
{
pinMode(d1, OUTPUT);
pinMode(d2, OUTPUT);
pinMode(d3, OUTPUT);
pinMode(d4, OUTPUT);
pinMode(a, OUTPUT);
pinMode(b, OUTPUT);
pinMode(c, OUTPUT);
pinMode(d, OUTPUT);
pinMode(e, OUTPUT);
pinMode(f, OUTPUT);
pinMode(g, OUTPUT);
pinMode(p, OUTPUT);
pinMode(A5, INPUT);
}
void loop()
{
switch1 = digitalRead(A5);
if (switch1 == LOW) {
clearLEDs();
pickDigit(1);
pickNumber((n/x/1000)%10);
delayMicroseconds(del);
clearLEDs();
pickDigit(2);
pickNumber((n/x/100)%10);
delayMicroseconds(del);
clearLEDs();
pickDigit(3);
dispDec(3);
pickNumber((n/x/10)%10);
delayMicroseconds(del);
clearLEDs();
pickDigit(4);
pickNumber(n/x%10);
delayMicroseconds(del);
n++;
}
else {
clearLEDs();
pickDigit(1);
pickNumber(0);
delayMicroseconds(del);
clearLEDs();
pickDigit(2);
pickNumber(0);
delayMicroseconds(del);
clearLEDs();
pickDigit(3);
dispDec(3);
pickNumber(0);
delayMicroseconds(del);
clearLEDs();
pickDigit(4);
pickNumber(0);
delayMicroseconds(del);
}
}
void pickDigit(int x)
{
digitalWrite(d1, LOW);
digitalWrite(d2, LOW);
digitalWrite(d3, LOW);
digitalWrite(d4, LOW);
switch(x)
{
case 1: digitalWrite(d1, HIGH); break;
case 2: digitalWrite(d2, HIGH); break;
case 3: digitalWrite(d3, HIGH); break;
default: digitalWrite(d4, HIGH); break;
}
}
void pickNumber(int x)
{
switch(x)
{
default: zero(); break;
case 1: one(); break;
case 2: two(); break;
case 3: three(); break;
case 4: four(); break;
case 5: five(); break;
case 6: six(); break;
case 7: seven(); break;
case 8: eight(); break;
case 9: nine(); break;
}
}
void dispDec(int x)
{
digitalWrite(p, LOW);
}
void clearLEDs()
{
digitalWrite(a, HIGH);
digitalWrite(b, HIGH);
digitalWrite(c, HIGH);
digitalWrite(d, HIGH);
digitalWrite(e, HIGH);
digitalWrite(f, HIGH);
digitalWrite(g, HIGH);
digitalWrite(p, HIGH);
}
void zero()
{
digitalWrite(a, LOW);
digitalWrite(b, LOW);
digitalWrite(c, LOW);
digitalWrite(d, LOW);
digitalWrite(e, LOW);
digitalWrite(f, LOW);
digitalWrite(g, HIGH);
}
void one()
{
digitalWrite(a, HIGH);
digitalWrite(b, LOW);
digitalWrite(c, LOW);
digitalWrite(d, HIGH);
digitalWrite(e, HIGH);
digitalWrite(f, HIGH);
digitalWrite(g, HIGH);
}
void two()
{
digitalWrite(a, LOW);
digitalWrite(b, LOW);
digitalWrite(c, HIGH);
digitalWrite(d, LOW);
digitalWrite(e, LOW);
digitalWrite(f, HIGH);
digitalWrite(g, LOW);
}
void three()
{
digitalWrite(a, LOW);
digitalWrite(b, LOW);
digitalWrite(c, LOW);
digitalWrite(d, LOW);
digitalWrite(e, HIGH);
digitalWrite(f, HIGH);
digitalWrite(g, LOW);
}
void four()
{
digitalWrite(a, HIGH);
digitalWrite(b, LOW);
digitalWrite(c, LOW);
digitalWrite(d, HIGH);
digitalWrite(e, HIGH);
digitalWrite(f, LOW);
digitalWrite(g, LOW);
}
void five()
{
digitalWrite(a, LOW);
digitalWrite(b, HIGH);
digitalWrite(c, LOW);
digitalWrite(d, LOW);
digitalWrite(e, HIGH);
digitalWrite(f, LOW);
digitalWrite(g, LOW);
}
void six()
{
digitalWrite(a, HIGH);
digitalWrite(b, HIGH);
digitalWrite(c, LOW);
digitalWrite(d, LOW);
digitalWrite(e, LOW);
digitalWrite(f, LOW);
digitalWrite(g, LOW);
}
void seven()
{
digitalWrite(a, LOW);
digitalWrite(b, LOW);
digitalWrite(c, LOW);
digitalWrite(d, HIGH);
digitalWrite(e, HIGH);
digitalWrite(f, HIGH);
digitalWrite(g, HIGH);
}
void eight()
{
digitalWrite(a, LOW);
digitalWrite(b, LOW);
digitalWrite(c, LOW);
digitalWrite(d, LOW);
digitalWrite(e, LOW);
digitalWrite(f, LOW);
digitalWrite(g, LOW);
}
void nine()
{
digitalWrite(a, LOW);
digitalWrite(b, LOW);
digitalWrite(c, LOW);
digitalWrite(d, HIGH);
digitalWrite(e, HIGH);
digitalWrite(f, LOW);
digitalWrite(g, LOW);
}
Artist Statement
The name of this project is called In Time because of the concept of time in how time keeps moving without ever being stopped completely. The idea of this project came from the movie "In Time" in which the idea that everyone is born with a time to which they live and die when there time reaches completely zero. Time in this film also becomes a currency in which the people use to buy everyday items to survive in both luxury and poverty. It is the concept of time as art in which everything relies on time and time keeps the world continuously moving on. This project ties in the artistic concept of time, but instead of a timer counting down it counts up quickly and when one switches the switch together it stops zero, but when the switch is switched off the time continues where it left off. This project brings up the idea that time can not be stopped as much as one wants it to be. Time can also be seen as a currency in this project for the reason that every hour, minute, and second counts for everyone and how we as individuals spend our time if we spend it wisely or unwisely. Also the concept of time and death is included in this project for the reason that when we die, time continues moving on without having any significant influence for the death of one or a million people, but we can still count the amount of how long we lived from the beginning of our birth to the ending of our death. Remember that when we are born we are given with wthe time and date that we are born at and same thing goes with our deaths in which our time and date are written down. As much as we want to stop time and have it stop completely at zero, one can not and time continues without a completely stop. But in the case of the science fiction world time can be manipulated and completely stopped, but not in the real world yet. This project is an artistic project because time takes on the artistic role of being used to count up instead of down and trying to pause time with a switch, but even though one uses the switch, time does not stop at all.
In Project Progress
This project was a bit difficult especially figuring out how the 7segment display works because each of the pins programs different parts of the display. Along with the display, I had trouble figuring out the connection as well as programming it to do the function I wanted to do at first, which was to make a timer countdown. I ended up with a different result after looking at other examples online with the use of the 7segment display. I did end up looking at an instructable online, but it was difficult to follow because it was not into much detail as well as the result I got from it was completely wrong so I had to rework around the example and ended up with a completely different result from the example. I also made sure that my instructions to this project was very detailed to make sure that other people were able to follow them as well as having myself follow it as well. I was actually fascinated with my end result because it reminded me of the film "In Time". My project may seem simple, but the artistic concept that the project takes is not and the look of my project looks complicated even in itself. I did not have any failures, but I did have a lot of challenging problems that I overcame by looking at examples online and an instructable especially figuring out how to connect to display to the breadboard and have the breadboard with the display connect to the Arduino Uno.
Battery Connected to 5V and A1 on the Arduino


No comments:
Post a Comment