-1 battery
-1 SD card
-14 Jumper Wires

-4 330 Ohm Resistors

-7-Segment Display
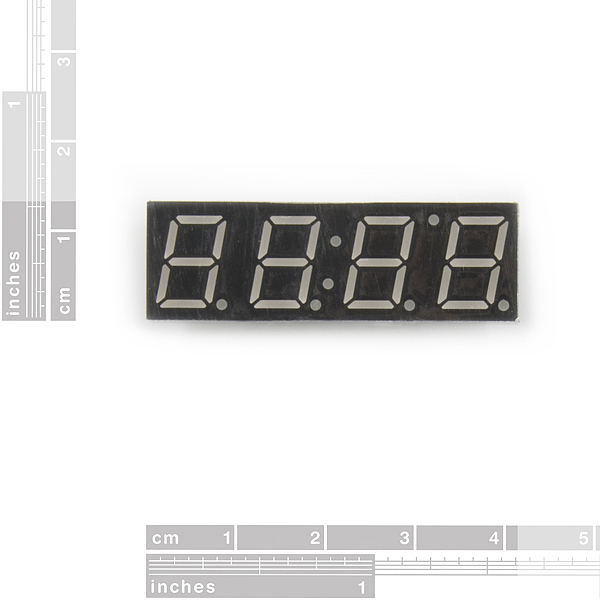
7-Segment Display Pin 1 to Pin 8 counted from left to right on the bottom of the display. From Pin 9 to 16 counted from right to left on the top of the display.
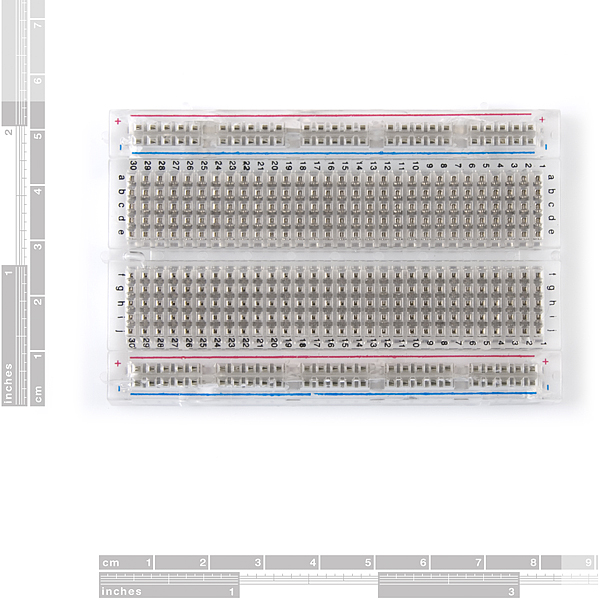
-Breadboard
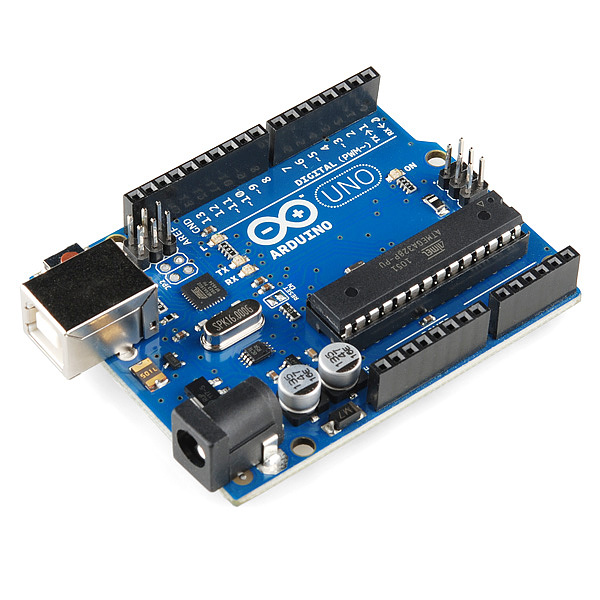
-Arduino Uno
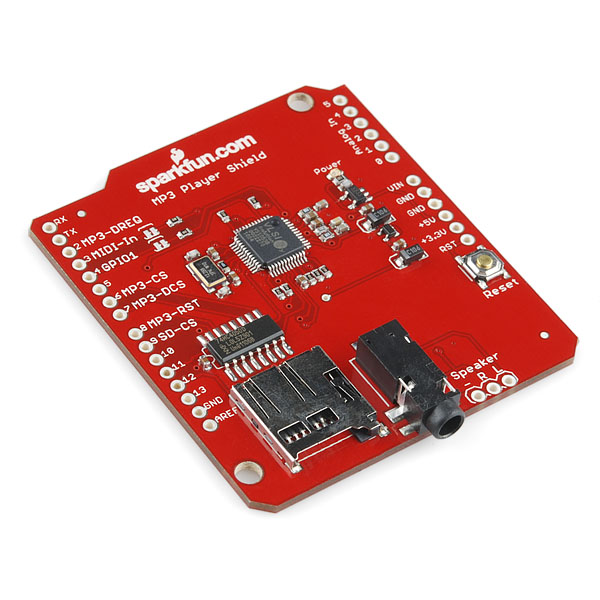
-Mp3 Shield
- two 6 Pin Headers
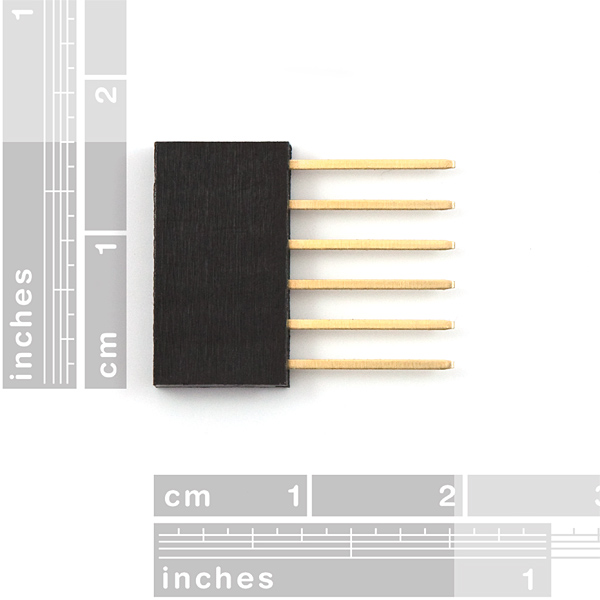
-two 8 Pin Headers

Breadboard Organization (A-J/ 1-30) & Arduino Uno (Digital 1-11)
7-Segment Display on Breadboard
Pin 1 on E9
Pin 2 on E10
Pin 3 on E11
Pin 4 on E12
Pin 5 on E13
Pin 6 on E14
Pin 7 on E15
Pin 8 on E16
Pin 9 on G16
Pin 10 on G15
Pin 11 on G14
Pin 12 on G13
Pin 13 on G12
Pin 14 on G11
Pin 15 on G10
Pin 16 on G9
Connecting Breadboard to the MP3 Shield
A1 connected with a 330 Ohm Resistor on D1 to Pin 1 (D9)
A1 connected to Digital 12
A2 connected with a 330 Ohm Resistor on C2 to Pin 2 (D10)
A2 connected to Digital 11
A11 connected to Digital 4 for Pin 3
No connection for Pin 4
A13 connected to Digital 5 for Pin 5
A22 connected with a 330 Ohm Resistor on C22 to Pin 6 (C14)
A22 connect to Digital 10
A15 connected to Digital 8 for Pin 7
A23 connected with a 330 Ohm Resistor on D23 to Pin 8
A23 connected to Digital 9 for Pin 8
No connection for Pin 9
No connection for Pin 10
J14 connected to Digital 6 for Pin 11
No connection for Pin 12
J12 connected to Digital 3 for Pin 13
J11 connected to Digital 1 for Pin 14
J10 connected to Digital 7 for Pin 15
J9 connected to Digital 2
Switch connector to Power 5V and Analog A5
For the Mp3 Shield:
Solder the two 6 pin headers and the two 8 pin headers into the Mp3 shield.
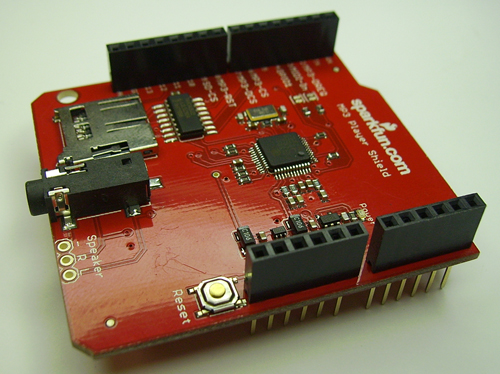
Attach the MP3 shield on top of the arduino uno. Note: make sure the USB socket has electric tape around it to avoid short circuiting the MP3 Shield.
How to program the MP3 Shield:
Read the Quickstart Tutorial: http://www.sparkfun.com/tutorials/295
Download and Unzip the sdfatlib folder and inside this folder it will contain a folder named SDfat. If you are using a Mac open your applications folder and right click on the Arduino App Icon and go to expand contents. Look for the libraries folder and then drag the sdfat folder, found in the sdfatlib folder, into the libraries folder. If you have the Arduino Application open you must close it and reopen it so the SDfat folder will appear under file --> examples.
To program the MP3 shield first you find the song you want to play with the MP3 shield and you put in the SD card and you rename it track001.mp3 and not just track1.mp3, because it will not play. Then insert the SD card into the MP3 Shield.
The code for the MP3 shield:
#include <SPI.h>
#include <SdFat.h>
#include <SdFatUtil.h>
#include <SFEMP3Shield.h>
SFEMP3Shield MP3player;
void setup() {
Serial.begin(9600);
//start the shield
MP3player.begin();
//start playing track 1
MP3player.playTrack(1);
}
//do something else now
void loop() {
Serial.println("I'm bored!");
delay(2000);
}
The code for the 7-segment display with random effects:
//segments
int a = 1;
int b = 2;
int c = 3;
int d = 4;
int e = 5;
int f = 6;
int g = 7;
int p = 8;
//digits
int d4 = 9;
int d3 = 10;
int d2 = 11;
int d1 = 12;
//other
int del = 100;
int buttoncount = 0;
int loopcount = 0;

void setup()
{
  pinMode(d1, OUTPUT);
  pinMode(d2, OUTPUT);
  pinMode(d3, OUTPUT);
  pinMode(d4, OUTPUT);
  pinMode(a, OUTPUT);
  pinMode(b, OUTPUT);
  pinMode(c, OUTPUT);
  pinMode(d, OUTPUT);
  pinMode(e, OUTPUT);
  pinMode(f, OUTPUT);
  pinMode(g, OUTPUT);
  pinMode(p, OUTPUT);
  digitalWrite(a, HIGH);
  digitalWrite(b, HIGH);
  digitalWrite(c, HIGH);
  digitalWrite(d, HIGH);
  digitalWrite(e, HIGH);
  digitalWrite(f, HIGH);
  digitalWrite(g, HIGH);
  digitalWrite(p, HIGH);
}

void loop()
{
  roulette(4);
  delay(100);
  zigzag(2);
  delay(100);
  circles(4);
  delay(100);
}

void pickDigit(int x)
{
  digitalWrite(d1, LOW);
  digitalWrite(d2, LOW);
  digitalWrite(d3, LOW);
  digitalWrite(d4, LOW);

  switch(x)
  {
  case 1:
    digitalWrite(d1, HIGH);
    break;
  case 2:
    digitalWrite(d2, HIGH);
    break;
  case 3:
    digitalWrite(d3, HIGH);
    break;
  default:
    digitalWrite(d4, HIGH);
    break;
  }
}

void clearLEDs()
{
  digitalWrite(a, HIGH);
  digitalWrite(b, HIGH);
  digitalWrite(c, HIGH);
  digitalWrite(d, HIGH);
  digitalWrite(e, HIGH);
  digitalWrite(f, HIGH);
  digitalWrite(g, HIGH);
  digitalWrite(p, HIGH);
}

void roulette(int x)
{
  loopcount = 0;
  while (loopcount < x)
  {
    digitalWrite(a, LOW);
    pickDigit(1);
    delay(del);
    pickDigit(2);
    delay(del);
    pickDigit(3);
    delay(del);
    pickDigit(4);
    delay(del);
    digitalWrite(a, HIGH);
    digitalWrite(b, LOW);
    delay(del);
    digitalWrite(b, HIGH);
    digitalWrite(c, LOW);
    delay(del);
    digitalWrite(c, HIGH);
    digitalWrite(d, LOW);
    delay(del);
    pickDigit(3);
    delay(del);
    pickDigit(2);
    delay(del);
    pickDigit(1);
    delay(del);
    digitalWrite(d, HIGH);
    digitalWrite(e, LOW);
    delay(del);
    digitalWrite(e, HIGH);
    digitalWrite(f, LOW);
    delay(del);
    clearLEDs();
    loopcount++;
  }
}

void zigzag(int x)
{
  loopcount = 0;
  while(loopcount < x)
  {
    digitalWrite(a, LOW);
    pickDigit(1);
    delay(del);
    pickDigit(2);
    delay(del);
    pickDigit(3);
    delay(del);
    pickDigit(4);
    delay(del);
    digitalWrite(a, HIGH);
    digitalWrite(b, LOW);
    delay(del);
    digitalWrite(b, HIGH);
    digitalWrite(g, LOW);
    delay(del);
    pickDigit(3);
    delay(del);
    pickDigit(2);
    delay(del);
    pickDigit(1);
    delay(del);
    digitalWrite(g, HIGH);
    digitalWrite(e, LOW);
    delay(del);
    digitalWrite(e, HIGH);
    digitalWrite(d, LOW);
    delay(del);
    pickDigit(2);
    delay(del);
    pickDigit(3);
    delay(del);
    pickDigit(4);
    delay(del);
    digitalWrite(d, HIGH);
    digitalWrite(c, LOW);
    delay(del);
    digitalWrite(c, HIGH);
    digitalWrite(g, LOW);
    delay(del);
    pickDigit(3);
    delay(del);
    pickDigit(2);
    delay(del);
    pickDigit(1);
    delay(del);
    digitalWrite(g, HIGH);
    digitalWrite(f, LOW);
    delay(del);
    clearLEDs();
    loopcount++;
  }
}

void circles(int x)
{
  loopcount = 0;
  while (loopcount < x)
  {
    digitalWrite(a, LOW);
    digitalWrite(b, LOW);
    digitalWrite(f, LOW);
    digitalWrite(g, LOW);
    pickDigit(1);
    delay(250);
    digitalWrite(a, HIGH);
    digitalWrite(b, HIGH);
    digitalWrite(f, HIGH);
    digitalWrite(c, LOW);
    digitalWrite(d, LOW);
    digitalWrite(e, LOW);
    pickDigit(2);
    delay(250);
    digitalWrite(a, LOW);
    digitalWrite(b, LOW);
    digitalWrite(f, LOW);
    digitalWrite(c, HIGH);
    digitalWrite(d, HIGH);
    digitalWrite(e, HIGH);
    pickDigit(3);
    delay(250);
    digitalWrite(a, HIGH);
    digitalWrite(b, HIGH);
    digitalWrite(f, HIGH);
    digitalWrite(c, LOW);
    digitalWrite(d, LOW);
    digitalWrite(e, LOW);
    pickDigit(4);
    delay(250);
    clearLEDs();
    loopcount++;
  }
}
Artist Statement
The name of this project is called Back In Time, which plays and explores the concept
of music and time. Music is unlimited and continues in time, but a song is limited
to a specific time in that there is so much a song can be played in a certain
time frame. Time is also set with a limit that it can go up to as well as time
keeps going up and can never be completely stopped. This project looks at time as
can be manipulated to not read the right time or cause random effects with the time
display as if to say that time is never set and can be changed into anything that a
person could think of time as. Though the song being played with the time is a song
by Pitbull called Back In Time which brings the concept of music and time together
in that both can be manipulated to mean anything and to change it to be anything
anybody wants it to be in the realm of science fiction and imagination. There is
always a want for the music to keep going as well as for time to stop, skip, move
forward, play back, and reverse. Just as time is this music is as well that it can
be stopped, skipped, moved forward, played back, and reversed. It is the ability
that we have to connect time to music and feel that we can manipulate time through
music. This project demonstrates the artistic concept of music and time as well as
the technology capable of manipulating both these concepts.
In Project Progress
This project was a bit difficult because it was the first time I have ever played with a shield for the arduino. As
well as learning how to program the MP3 shield so that it works. After reading so many other blogs and websites
about programming the MP3 shield, it first made me frustrated and confused since I was doing everything
as instructed so I asked for help from the professor because I remembered that she introduced the MP3 shield
to class and I knew that she might no more about programming it. I was right about the professor and helped me
a lot figure what I was doing wrong and can say that blogs and websites are not always that descriptive and step
by step instructions. I also had a rough time figuring out the code for the MP3 shield, but after looking at websites
I found the easiest and simple code to play and work for the MP3 shield. There was one problem that I have left
as is which is the combining of both the MP3 shield code and the 7-segment display code which I try my best to
understand and reword the program so that both codes work together, but unfortunately I haven't found the
solution yet and try to rely on blogs and websites for help.


No comments:
Post a Comment